What No One Tells You About Square Book Full Cover Mockup PSD Files
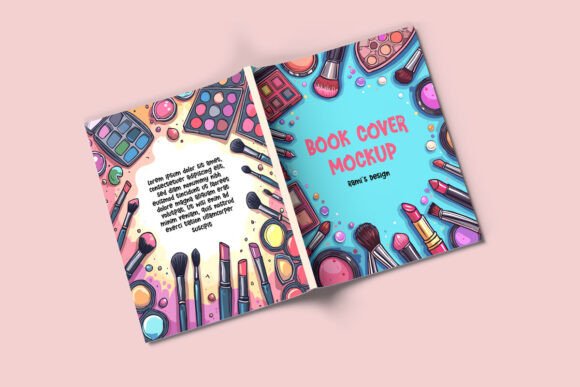
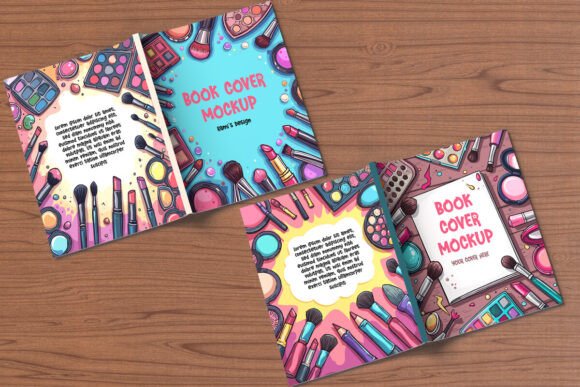
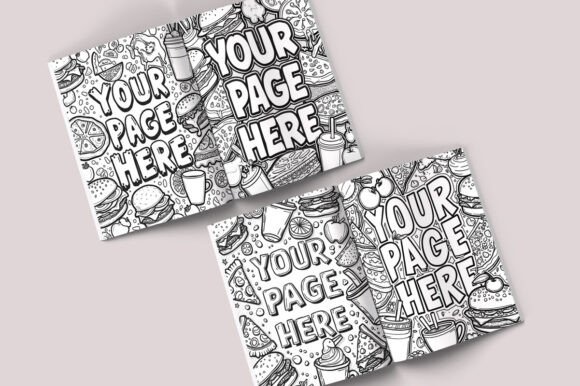
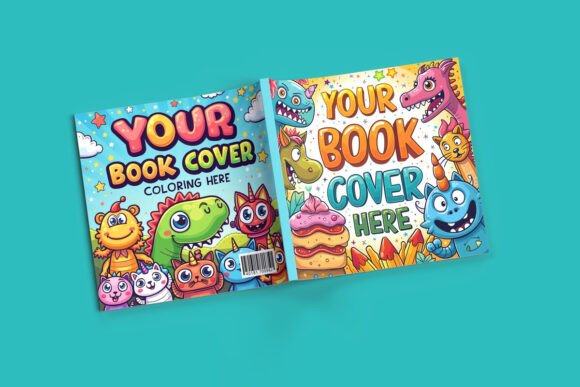
You have a book cover design ready, or at least an idea taking shape in your mind. You want to present it in a way that feels real, something clients or audiences can instantly imagine holding. That is where a Square Book Full Cover Mockup PSD comes into the picture. It is a layered Photoshop file that lets you drop your artwork onto a realistic 3D representation of a square book, complete with spine, front, and back cover. The appeal is obvious: you get a polished, professional presentation without staging a photo shoot or printing a physical proof.
But here is the catch. Many people download these mockups, paste in their design, and end up with something that looks decent at a glance but falls apart under scrutiny. The shadows feel off. The perspective warps the text. The spine alignment looks like an afterthought. The problem is rarely the mockup itself. It is usually how it is used, chosen, or understood. Let me walk you through what often goes wrong and how to avoid those pitfalls.
Treating a Mockup Like a Magic Wand
The most common misunderstanding is thinking that a Square Book Full Cover Mockup PSD will automatically make any design look great. That is not how it works. A mockup is a showcase, not a fixer. If your cover has low-resolution images, cramped typography, or awkward margins, the mockup will amplify those flaws. A realistic 3D render with soft lighting and depth will highlight every pixel that is out of place.
Instead of rushing to apply your design, first zoom into your cover at 100% and check the details. Are the text elements at least a few millimeters away from the trim edge? Does the spine width match the page count you intend? These are decisions you make before you open the PSD, not after. The mockup should be the final step, not the first.
Overlooking the Smart Object Layer
Most quality Square Book Full Cover Mockup PSD files use smart objects. You double-click a thumbnail, paste your design, save, and the mockup updates automatically. This is straightforward, yet so many people treat the layer like a regular image. They try to transform, scale, or skew the design inside the smart object, which distorts the perspective and breaks the realistic effect.
Here is what to do instead. Open the smart object layer and paste your flat cover design exactly as you intended it to be printed. Do not rotate or resize it inside that window. The transformation is already built into the mockup file. If the alignment looks off after saving, adjust your source file outside the smart object, not within it. This preserves the perspective mapping and keeps everything natural.
Ignoring the Bleed and Safety Margins
One detail that separates an amateur presentation from a professional one is the bleed area. A real print-ready cover extends past the trim edge so that no white gaps appear after cutting. When you use a mockup, that bleed zone is often hidden or cropped out by the template. If you do not account for it, your cover might show a thin white border along the edges in the final render.
Before you load your design into the PSD, make sure your canvas includes at least 3 mm of bleed on all sides. Also keep all critical elements like text or logos at least 5 mm inside the trim line. The mockup will then show the cover as it would look after binding, not as a raw file. This small check makes a big difference when presenting to a client or publisher.
Choosing the Wrong Mockup for Your Format
Not all square book mockups are the same. Some represent hardcover books with a visible spine and wrap-around cover. Others show softcover versions with a separate front and back. Some assume a specific page count, which affects the spine width. If you pick a hardcover mockup for a paperback design, the result will look misleading. Similarly, if your book has 200 pages but the mockup assumes 100, the spine will appear too narrow or too wide.
Read the product description carefully. Look for details about the trim size, spine width, and cover type. If the file is flexible enough to adjust the spine, great. But if it is fixed, match your design to those dimensions. Do not force a design into a mockup that was not built for it. The extra time spent finding the right template saves hours of rework later.
Overlooking Lighting and Shadows
Mockups use lighting effects to simulate a real environment. Sometimes the light source comes from the top left, other times from the right. If the mockup has a strong directional shadow, but your cover includes a gradient that conflicts with that light, the final image will look unnatural. The cover might appear to float above the surface or bend in a way that contradicts the shadow direction.
You cannot always change the lighting in a PSD mockup easily, but you can choose one that complements your design. If your cover uses a dark background with a bright focal point, pick a mockup with softer, diffused lighting. If your design is minimal and light, a mockup with a dramatic shadow can add depth. Match the mood of your cover to the mood of the mockup environment. This is not an afterthought, it is a design decision.
Forgetting the Back Cover and Spine
A full cover mockup includes the front, spine, and back. Many people spend all their effort on the front and treat the spine and back as afterthoughts. They leave the spine blank or use a generic color that does not connect with the front. The back cover might have a bare barcode placeholder that looks nothing like a real ISBN. When the mockup renders, the book looks incomplete, and the viewer notices.
Treat the entire cover as a unified design. Even if you only plan to present the front view, prepare the full wrap. The spine should carry the title and author name in a readable size. The back should include a short blurb, a barcode placeholder, and maybe a small author photo. When the mockup shows the book at an angle, these details add credibility. You are not just designing a front page, you are designing a physical object.
Using Low-Resolution Source Files
Mockups typically expect source images at 300 DPI for realistic print simulation. If you drop in a 72 DPI web graphic, the mockup will still render it, but it will look soft, pixelated, or blurry when viewed at full size. This defeats the purpose of a high-quality presentation. Someone evaluating your work might not know why it looks off, but they will sense it.
Always create your cover design at 300 DPI with dimensions matching the final print size plus bleed. Export as a high-quality PNG or PSD before placing it into the smart object. If you are unsure about resolution, check the image size in Photoshop. A proper cover for a 6x6 inch book should be at least 1800 pixels wide at 300 DPI, not counting bleed. Anything less will compromise the mockup result.
Skiking the Test Render
Even experienced designers sometimes load a file and assume it will look correct. But mockups vary in how they handle color profiles, layer styles, and blending modes. A design that looks vibrant in your source file might appear dull or washed out when mapped onto the book surface. This can happen because the mockup uses a different color space or because the smart object applies a slight overlay.
After you place your design, zoom in and inspect the edges, the spine fold, and the transition between front and back. Check that the text remains sharp and that no clipping occurs at the corners. If something looks off, do not force it. Adjust the source file and reload. A test render takes two minutes but can save you from sending a flawed proof to a client.
The Value of a Thoughtful Presentation
A Square Book Full Cover Mockup PSD is a tool, and like any tool, its value depends on how you use it. When you treat it as a final presentation layer for a well-prepared design, it elevates your work. It helps clients visualize the finished product, makes your portfolio look professional, and reduces the number of revision rounds. But when you skip the prep work, it exposes every shortcut you took.
Take the time to choose the right mockup for your specific format. Prepare your cover with proper bleed, resolution, and spine alignment. Use the smart object correctly, and match your design to the lighting and perspective of the scene. These are not extra steps, they are the steps that separate a convincing mockup from a forgettable one. The difference is subtle in theory, but obvious in practice.